
-
Power
2000W
-
Hashrate
230.00 MH/s
-
Efficiency
8.7 J/M
-
Algorithm
zkSNARK
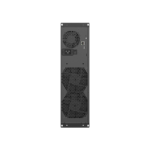
Goldshell E-AE1M ALEO Miner 230Mh/s
US$630.00
Top Hashrate : Up to 100% better than the previous generation
High Stability : Supports 24/7 continuous operation
Warranty : Come with 6-month factory warranty.
E-AE1M Profitability Calculate
Daily Earning
ROI
Electricity
Electricity ratio
Net Profit
Miner Profitability History
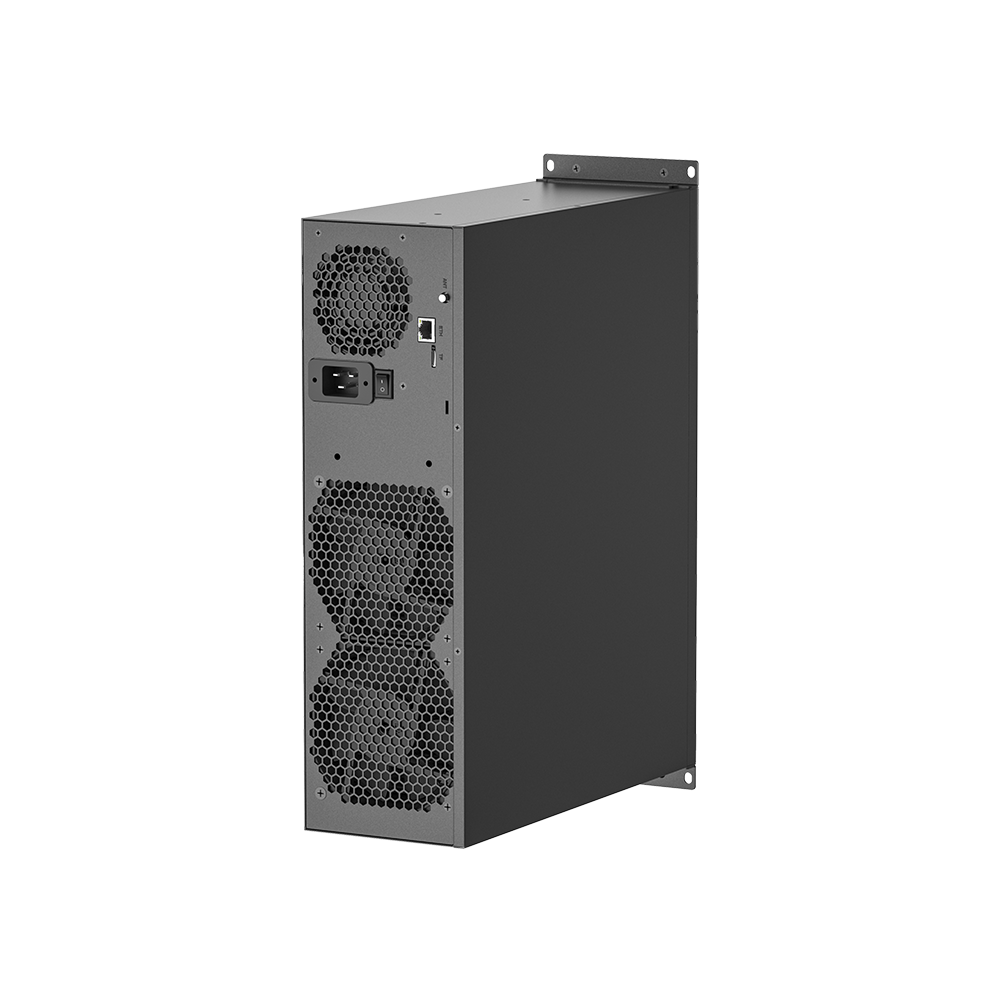
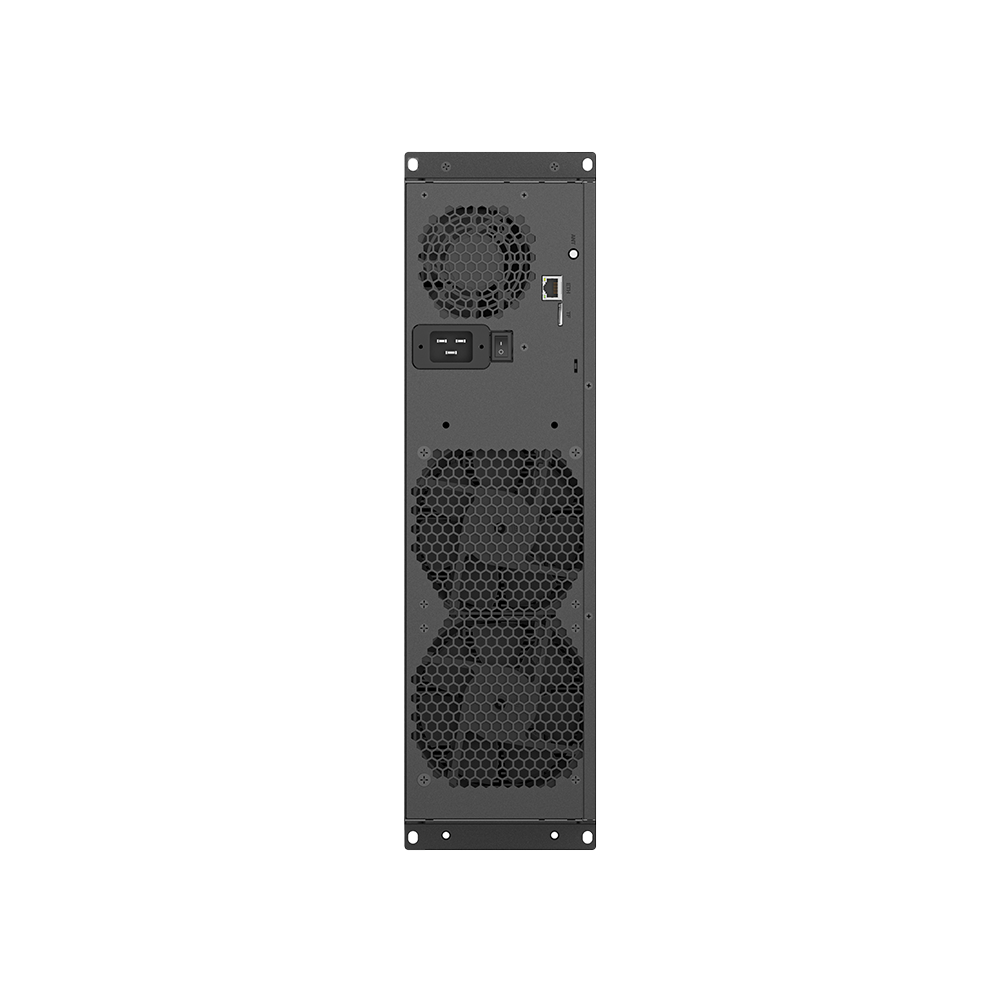
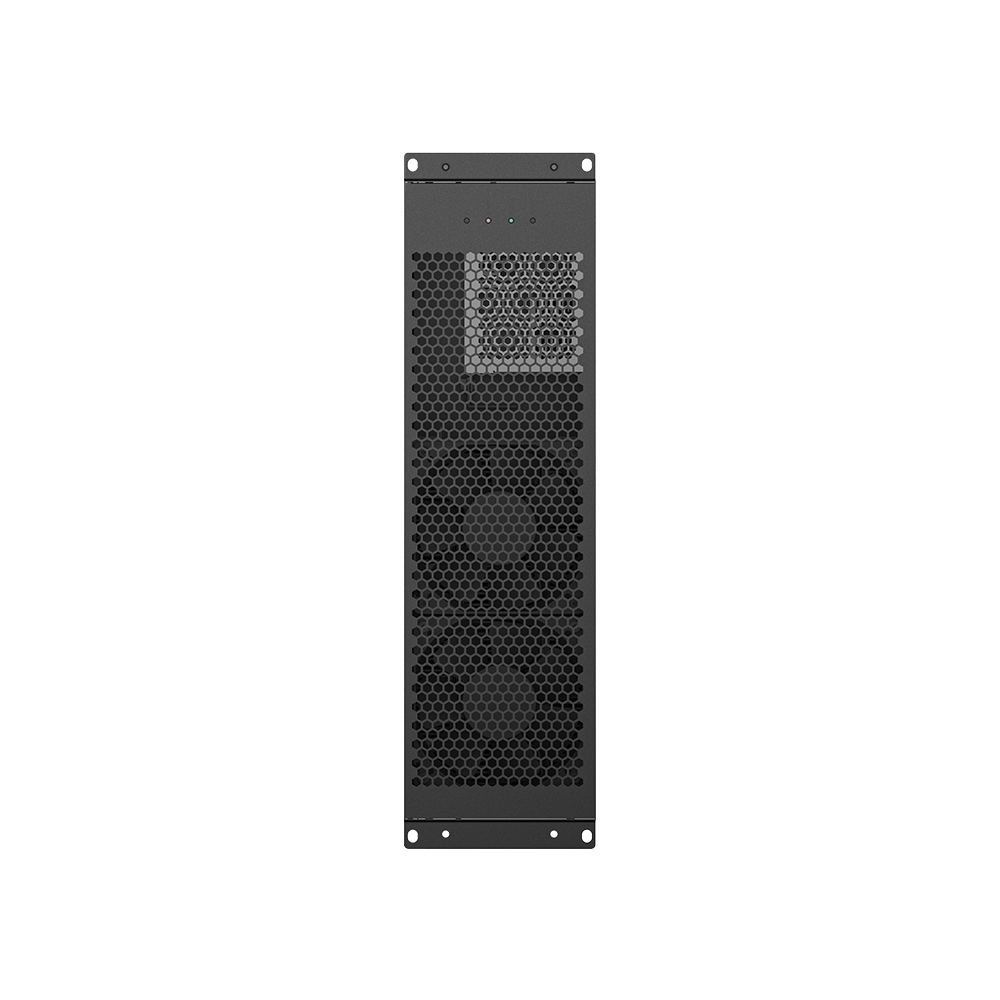
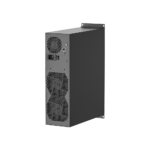
Programmed for the ZkSNARK algorithm, this newly released miner specially targets ALEO tokens. Goldshell E-AE1M has expanded the horizon of blockchain technology with improved scalability and privacy for users. It operates with a maximum hash rate of 230Mh/s while consuming 2000W power. The AE Box has a notable dual fan miner for effective cooling. This particular miner is manufactured by the reputable Goldshell. Its durable craftsmanship allows it to perform effectively across a wide temperature range, from 5°C to 45°C. Designed with an eco-conscious concept in mind, it has an almost inaudible noise level measured at 45 dB while achieving an impressive energy efficiency of 8.7 J/MH.
Technical Specifications
| Product Glance | Value |
|---|---|
| Model | Goldshell E-AE1M |
| Crypto algorithm/coins | zkSNARK|ALEO |
| Typical hashrate | 230.00 MH/s |
| Power on wall @35℃, Watt | 2000W |
| Detailed Characteristics | Value |
|---|---|
| Power Supply | |
| Input voltage, Volt | 200V-240V |
| Input max current, Amp | 16 |
| Hardware Configuration | |
| Networking connection mode | Dual-Mode: Ethernet/ Wi-Fi Supported |
| Server size(length*width*height, w/o package), mm | 443 x 360 x 135mm |
| Server size(length*width*height, with package), mm | 560*510*280mm |
| Net weight, kg | 15.15 |
| Noise@30℃, dBA | 60 |
| Environment Requirements | Value |
|---|---|
| Storage temperature, °C | -20~70 |
| Operation humidity(non-condensing), RH | 10 – 65 % |
| Operation temperature,°C | 5 – 45 °C |
| Operation altitude, m | ≤2000 |
| What's in the Box | Value |
|---|---|
| Original factory mining machinery | ✓ |
| Power supply | ✓ |
| Shockproof packaging | ✓ |
(1) The hashrate value, power on wall, and power efficiency on wall are all typical values. The actual hashrate value fluctuates by ±3%, and the actual power on wall and power efficiency on wall fluctuate by ±5%.
(2) Caution: Wrong input voltage may cause server damaged.
(3) The noise is loudest when the fan is under maximum RPM(rotation per minute).
(4) When the server is used at an altitude from 900m to 2000m, the highest operating temperature decreases by 1℃ for every increase of 300m.
Estimate time
Please select your preferred product batch – Available Now (In Stock) for immediate shipment or Month Batch for delivery within your chosen timeframe. If no selection is needed, the product is in stock and ready to ship. If you haven’t received your miner after the estimated time, please contact us at store@bt-miners.com, and our team will assist you promptly.
Shipping
All used miners will undergo testing by our certified technicians before shipping, which requires 3-5 business days. New miners will be shipped from our Shenzhen or Hong Kong warehouse, with international delivery taking approximately 5-10 business days via DHL. Once your order is shipped, you will receive a confirmation email with a tracking number. Shipping fees are calculated based on product type and weight, varying by region.
Returning policy
All sales are final and non-refundable after shipment, but we offer repair and replacement services if there are technical issues with your miner.
How To Set Up Goldshell AE Box ALEO Miner For Beginners

*BT-Miners offers a dedicated tutorial guiding first-time ALEO miners on connecting their newly arrived miners with a mining pool.
- * ALEO is a newly issued POW (Proof of Work) Cryptocurrency. Given market volatility, miner prices and profitability may fluctuate within a short period. It is advised to calculate daily profits and make purchases with discretion.
- * Batch products will be shipped at the end of that month or next month.
Product Compete
Compare to Other ALEO Miners
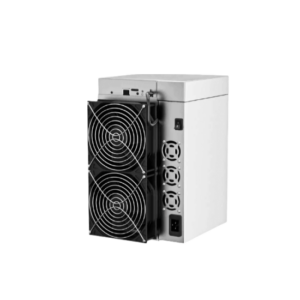
Goldshell E-AE1M vs. AE Box II
The Goldshell E-AE1M offers a significant performance boost over the AE BOX II, delivering 230Mh/s compared to just 54Mh/s. With a daily profit of $23.71 versus $5.42, the E-AE1M achieves a much faster ROI of 4.4 months, while the AE BOX II takes 10 months. Although the E-AE1M consumes more power at 2000W compared to 530W, the substantial gain in hashrate and profitability justifies the higher energy use for miners seeking maximum returns.
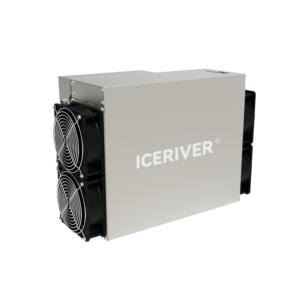
Goldshell E-AE1M vs. Iceriver AE0
Compared to the IceRiver AE0, the Goldshell E-AE1M is a more powerful machine, with 230Mh/s versus 60Mh/s, and earns over three times more in daily profit ($23.71 vs. $7.20). It also recoups its investment quicker, with an ROI of 4.4 months compared to AE0’s 7.9 months. However, AE0 stands out with ultra-low power consumption of just 100W, making it a more energy-efficient option for miners prioritizing electricity costs and silent operation.
How To Set Up Goldshell E-AE1M
Although setting up your Goldshell E-KA1M is simple, there are steps you must follow to make sure it connects to your pool properly.
Phase 1: Hardware Preparation
Check the Unit: Before you plug anything into the unit make sure it is okay. Look for any damage on the outside or parts that’re not tight. Hold the unit. Shake it a little. If you hear a noise that sounds like metal hitting metal the heatsink, inside the unit might have gotten loose when it was being shipped. Check the unit carefully to see if the heatsink is loose. The unit is the thing we are talking about here the unit that we need to inspect.
When you set up the EKA1M miner put it in a cool and well-ventilated area. The E-KA1M miner uses a lot of power it pulls 1800W. So you need to make sure your circuit can handle this. It is an idea to use a dedicated 20A circuit, for the E-KA1M miner this is safer.
Connections:
To get started you need to connect an Ethernet cable from your router or switch to the miner. Do this even if you think you will use Wi-Fi on. For the setup it is best to use a cable. This will make things easier, for you when you are setting up the miner for the time. Use an Ethernet cable to connect the router or switch to the miner.
Connect the Power Cables.
To turn on the miner you need to flip the power switch. The miner will take a minutes to start working. You have to wait for 2 to 5 minutes for the miner to boot up and get its own IP address. This is how you get the miner ready to use. The miner needs this time to boot and initialize its IP address.
Phase 2: Accessing the Miner Dashboard
Find the IP Address:
Download and run Advanced IP Scanner (Windows) or use a mobile app like Fing.
Look for a device with the manufacturer name “Goldshell” or hostname “qsdk”.
Alternatively, go to find.goldshell.com while on the same network.
Open the Web Interface: Type the miner’s IP address (e.g., 192.168.1.50) into your web browser.
Unlock the Miner:
Click the “Unlock” button in the top right corner.
Default Password: 123456789
Phase 3: Configuring the Mining Pool
The E-KA1M mines the KHeavyHash algorithm (Kaspa).
Navigate to the Miner Page: Click on the “Miner” tab in the left-hand menu.
Add a Pool: Click “+ Add” and enter your pool details:
Pool Address: (e.g., stratum+tcp://kas.kryptex.network:7777 or stratum+tcp://kaspa.f2pool.com:1300)
To get started you need to enter the address of your Kaspa Wallet. This is where you will receive your Kaspa. So please enter your Kaspa Wallet Address.
Worker Name: Add a period and a name after your wallet (e.g., YourWalletAddress.eka1m).
Password: Usually 123 or x.
To save the changes you need to click the “Apply” button. After you do this the miner is going to restart the way it works. This means it will start hashing. You will have to wait for a while like five to ten minutes before you see that the hash rate is stable and everything is working properly with the miner.
Phase 4: Optional Optimizations
Power Modes: You can switch between “Normal Mode” and “Low-Power Mode” to control how power you use. “Normal Mode” gives you the performance it can do, about 5.5 TH/s. On the hand “Normal Mode” uses a lot of power. If you want to save on electricity costs and keep your machine from getting too hot you can use “Low-Power Mode”. This mode does 3.8 TH/s. You can choose “Normal Mode” or “Low-Power Mode” depending on what you need.
To set up your Wi-Fi you need to go to the Network tab. This is where you can look for your home Wi-Fi. When you find it you just enter the password.
Once your Wi-Fi is working you do not need the Ethernet cable anymore so you can take it out. You are now connected to your home Wi-Fi.
Security: You should really change the default password, which’s 123456789 in the System settings. This is important because it will help prevent people who are not supposed to have access from getting in. You do not want someone to get into your system using the default password 123456789. So it is an idea to change the default password 123456789 as soon, as possible.
Understanding LED Indicators
Green Light (Flash fast): Working properly / mining.
Red Light (Flash slowly): Network issue. Check your Ethernet or Wi-Fi connection.
The Red Light is solid when there is a problem with overheating or the fan. You need to make sure the room is not too hot. The temperature in the room should be below 35°C or 95°F for the Red Light issue to be fixed. Check the room temperature, for the Red Light problem.
Blue/Green (Solid): Idle state; not yet mining.
Pro Tip:
Keep an eye on the Dashboard temperature. The optimal operating range is between 10°C and 35°C. If it exceeds 80°C internally, the miner may throttle or shut down to protect the chips.
-

Processing & Shipping Time
-
Payment Policies
-
Taxes and Custom Duties
Order Processing: All orders are processed and dispatched within 72 hours after verified full payment, unless otherwise stated. Pre-orders typically ship at the end of the month of the batch but may be delayed if the manufacturer delays release/shipment. In stock machines ship in 3-7 business days from our warehouse in China. Bulk orders may require an additional 1–2 business days for handling.
Shipping Carriers: We always try to ship as soon as we can via reputable international carriers such as DHL, UPS or FedEx after full payment has been received and verified.
Estimated Delivery: Standard international shipping usually takes 4–7 business days to arrive after dispatch. Actual delivery may be affected by customs clearance and local carrier conditions, with total delivery time ranging from 8–10 business days.
Contact us at store@bt-miners.com or 813-820-0668 if you have any questions.
All products on our website are priced in US Dollars.
Payment made by credit or debit card may be subject to card processing fees.
We can accept payment by credit or debit card, wire transfer, ACH transfer (through our online portal), and crypto.
Bank transfer clearing times vary by bank and location. Cryptocurrency payments are typically confirmed within 1 business day.
*Machine prices will fluctuate according to the current market price.*
Customs & Delivery: Shipments are managed through DHL, UPS and FedEx for most international destinations. Due to changing regulations, we will not be able to cover duty tax for all orders entering USA. Deliveries to other countries may require customers to clear customs and pay duty tax. Please notify us right away if documents are requested by customs as improper filing may result in higher fees and/or delays.
DDP Option: We offer Delivery Duty Paid (DDP) service in select countries, which covers customs, duties, and taxes in the purchase price. Advance arrangement is required – please contact store@bt-miners.com for details.
Returns to Hong Kong: If a product must be returned to Hong Kong, the customer is responsible for all related shipping fees as outlined in our Returns & Refund Policy.
All sales are final and non-refundable on any terms.
Want to find more Similar Miners?
FAQs
-
What Is The Lifespan Of This Mining Machine?
The lifespan of mining hardware is influenced by usage intensity, environmental factors like temperature, humidity, and dust. Proper maintenance and optimal conditions can significantly extend its longevity.
-
How Does Electricity Cost Impact Profitability?
Electricity costs play a crucial role in mining profitability, as high rates can quickly offset profit. Therefore, it is vital to access local electricity costs to determine if mining is viable. With high electricity costs and high liquidity of digital assets, investing in an energy-efficient miner becomes even more important.
-
Goldshell has been continuously innovating in the cryptocurrency mining hardware sector in recent years. What's the core direction of Goldshell's brand strategy for the next 3 years?
Over the next three years, Goldshell are committed to continuously discovering excellent ASIC projects and providing professional ASIC equipment that covers both home use and professional data center environments, while constantly refining product quality. Meanwhile, they continue to expand both vertically and horizontally within the blockchain ecosystem – vertically optimizing web and mobile products to improve user experience, and horizontally expanding into hardware wallets, server hosting, mining farm investment, and other blockchain infrastructure businesses.
-
Why did Goldshell choose ALEO as a key cooperation ecosystem?
In the current blockchain field, privacy computing and zero-knowledge proof technology are gaining increasing attention. As the first Layer 1 blockchain project to adopt zero-knowledge proof technology and provide fully private applications, Aleo is committed to offering users unlimited computing power with absolute privacy. Goldshell chose to partner with Aleo primarily for these reasons: Aleo is a leader in zero-knowledge proof technology, and its innovative privacy protection and programmability make it stand out among blockchain projects. Additionally, with the growing demand for privacy computing, Aleo has broad application prospects. Through this partnership with Aleo, Goldshell is positioned to take an early lead in this emerging market
-
We heard that ALEO project team has close communication with Goldshell. What is ALEO project team's attitude towards ASIC Miner development?
As demonstrated in our recent Twitter meeting with ALEO project CEO Howard Wu, he indicated that ALEO encourages ASIC participation and believes ASIC acceleration is necessary for privacy computing and zero-knowledge proof technology.
-
How does AE BOX II lower their entry barrier?
When designing the Goldshell Miner ecosystem, we considered potential user issues. First, when users receive their mining machine and need to set up the miner after connecting power, we provide the find.goldshell.com website to help users locate their miner’s IP. When adding mining pools, we offer one-click pool URL setup service to help customers quickly achieve mining power. Finally, we provide the Goldshell Hub platform and Goldshell Zone App, allowing customers to monitor parameters and configure pool settings anytime, anywhere.
-
Will Goldshell provide long-term support for AE BOX II users in the ALEO ecosystem?
Yes, we will continue to provide necessary support for all our products. For example, our early products like X5 and Doge miner are still running for some customers, and we continue to provide firmware updates and technical support.
-
Recently, Iceriver also released an AE0 miner in the market. So what are the advantages of AE BOX II?
First, AE BOX II has gone through two generations of product iterations and market validation with AE BOX and AE BOX PRO, so its stability and performance are undoubted.
Second, AE BOX II’s hash rate is 54M, which is 4M higher than AE0. Based on current coin prices and electricity cost of $0.07 per unit, the daily net profit is $17.8, which is $0.6 more than AE0, resulting in $18 more profit per month.
Additionally, AE BOX II is available as spot goods, ready to ship upon payment, which helps miners avoid many futures risks such as delayed delivery by sellers, refunds at expiration, and other uncertainties.
Finally, as the ASIC Miner with the highest hash rate currently available for the ALEO project, don’t miss out on AE BOX II. -
If customers purchase AE BOX II. What will the payback period and profitability look like? Can you estimate based on current market conditions?
As mentioned in the previous question, currently one AE BOX II generates a daily net profit of $16.94. With the current market price of $2,200 per unit, the payback period is around 120 days, meaning if you purchase now, you can expect to break even by late July or early August this year. After that, it’s just a matter of how much profit you make. Of course, if the coin price improves, the payback period will be significantly shortened.