كيفية إعداد محفظة Shrike لتلقي مدفوعات تعدين XBT: دليل خطوة بخطوة
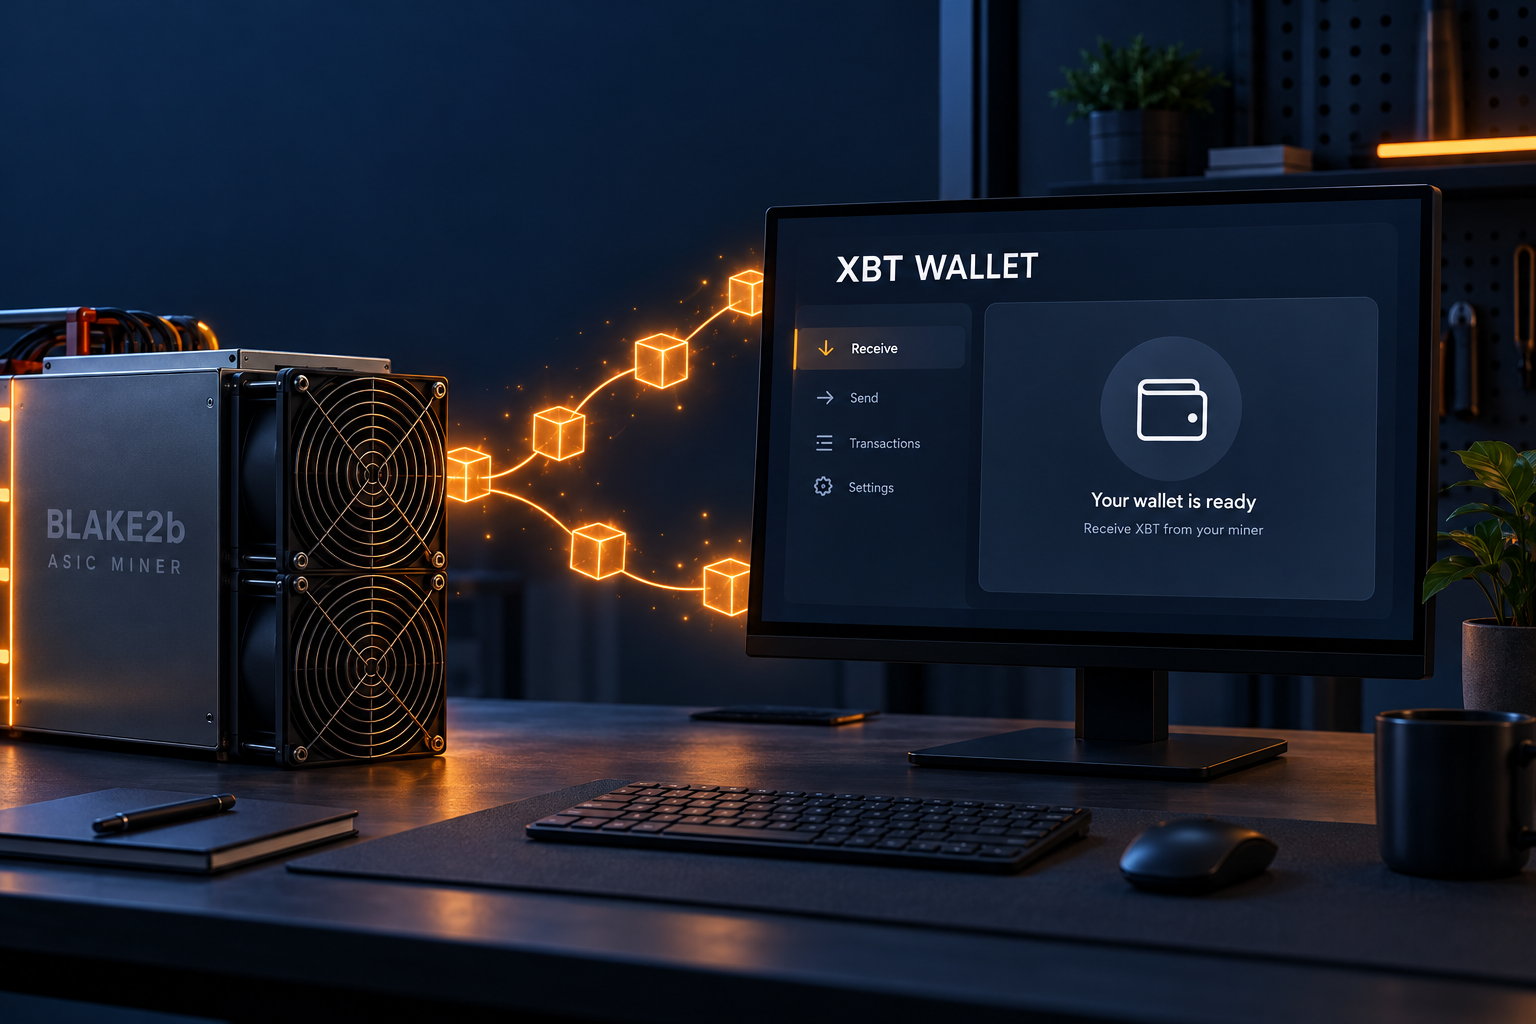
A mining pool needs somewhere to send your XBT. That destination should be a wallet you control—not a random Bitcoin deposit address copied from an exchange.
Shrike Wallet is a desktop wallet built for the Bitcoin BLAKE2b chain, also called Bitcoin BIP110, BTCB2 or XBT. It follows the post-fork BLAKE2b blocks and can create transactions using SIGHASH_UNIFIED, the chain’s opt-in replay protection. For a miner, its immediate job is simple: generate a self-custody address, monitor incoming pool payments and preserve the keys needed to spend those coins later.
This guide walks through a clean setup for new mining payouts. It does not require you to “claim” coins, import an old BTC wallet or expose a private key to a pool.
What Shrike Wallet Does—and What It Does Not Do
A wallet does not store coins inside the application. XBT remains recorded on the blockchain. Shrike stores or coordinates the keys that authorize spending and asks a compatible node or Electrum server for balances and transaction history.
Shrike is based on Sparrow, but it is not a normal BTC wallet with a new logo. According to the Shrike project, it understands the 164-byte post-activation block header, follows BLAKE2b proof of work and signs with the fork’s unified sighash. It installs separately from Sparrow and uses its own settings and wallet state.
It also ships without the usual public Electrum servers. Those servers may still follow the SHA256d Bitcoin chain and can show a plausible but incorrect history for XBT. Shrike therefore needs one of these data sources:
- Your own compatible Bitcoin Knots node: the simplest trust-minimized option and the only connection that lets Shrike cross-check the activation data directly.
- Your own BLAKE2b-compatible Electrum server: faster for large wallets and stronger for query privacy, but it adds another service to operate.
- A current third-party XBT Electrum server: convenient for starting, but its operator can observe the addresses you query and associate them with your IP address.
Before You Start: Build a Safer Mining Wallet
For new mining revenue, the cleanest approach is to create a brand-new Shrike software wallet. Do not reuse an address that belongs to your regular BTC wallet. Do not paste a seed phrase into a website, pool dashboard, support chat or block explorer.
تحضير ما يلي:
- A Windows, macOS or Linux computer that you control.
- An offline place to record the recovery words—paper or a durable metal backup, never a screenshot or cloud note.
- A compatible server connection. The official documentation calls for Bitcoin Knots v29.4.1.knots20260508 or later, or an Electrum server indexing such a node. For a fresh installation, use the latest stable compatible release rather than deliberately installing the minimum version.
- Your mining pool account or configuration instructions.
- A plan to test with one miner and one small payout before redirecting an entire farm.
Step 1: Download Shrike and Verify It Before Installation
ابدأ في official Shrike download page, then follow its link to the latest GitHub release. Choose the file for your operating system. Do not rely on an old direct installer link because release filenames change.
From the same release, download the installer plus SHA256SUMS, SHA256SUMS.asc and the project signing key. Verify the signature on the checksum file, then verify the installer against that checksum. The official instructions provide the commands for Linux, macOS and Windows.
The expected signing-key fingerprint published by Shrike is:
A47D 99B6 DB0D 715D 40C5 9A20 23AE 8A8E A7E2 4E38
A “Good signature” message is only half of the check. You must also confirm that the fingerprint matches the one published by the project and that the installer returns OK ضد SHA256SUMS. Stop if you see a bad signature or failed checksum.
macOS builds may not be notarized, and Windows installers may not carry an Authenticode signature. An operating-system warning does not replace verification, and bypassing the warning before checking the release would remove an important safety barrier.
Step 2: Download and Install a Compatible Bitcoin Knots Node
Shrike requires Bitcoin Knots v29.4.1.knots20260508 or later for a direct node connection. Version 29.4.1 introduced the BLAKE2b network changes Shrike needs. As of October 14, 2026, the current stable release shown by the Bitcoin Knots website is v29.4.2.knots20260508, so new users should install 29.4.2 or a later stable release unless current XBT documentation says otherwise.
Choose the Correct Download
فتح official Bitcoin Knots release page or follow the download link from bitcoinknots.org. Do not download a release candidate marked rc for a production wallet node. Select the regular package that matches your computer:
- ويندوز 10 أو أحدث: use the 64-bit
win64-setup-pgpverifiable.exeinstaller. Thewin64-pgpverifiable.zippackage is the portable alternative. - Apple Silicon Mac: اختر ال
arm64-apple-darwinapplication archive. For an Intel Mac, choosex86_64-apple-darwin. Current releases require macOS 13 or later. - Linux x86-64: اختر
x86_64-linux-gnu.tar.gz. ARM64 machines useaarch64-linux-gnu.tar.gz. Avoid the much larger packages containingdebugunless you specifically need debugging symbols.
Verify the Package Before Running It
التحميل SHA256SUMS و SHA256SUMS.asc from the same release directory. Bitcoin Knots uses OpenPGP signatures and recommends checking both the signature and the legitimacy of the signing keys. Obtain the relevant public keys from the project’s Guix signature repository and independently compare their fingerprints; maintainers and signing keys can change, so this guide does not hard-code one fingerprint.
gpg --verify SHA256SUMS.asc SHA256SUMS

# Linux: check the release files present in the current directory
sha256sum --ignore-missing -c SHA256SUMS

# macOS: replace PACKAGE with the exact archive filename
grep " PACKAGE$" SHA256SUMS | shasum -a 256 -c -
On Windows, verify the OpenPGP signature with Gpg4win or another trusted GPG installation, then run Get-FileHash .\PACKAGE -Algorithm SHA256 in PowerShell and compare the result with the matching line in SHA256SUMS. Do not install if the signature is bad, the checksum fails or the signer cannot be verified.
Install and Start the Node
- نوافذ: run the verified setup executable and launch Bitcoin Knots from the Start menu.
- ماك: extract the verified application archive, move Bitcoin Knots to
/Applications, and open it. Do not bypass a macOS security warning until the signature and checksum checks are complete. - لينكس: extract the verified archive and run
bin/bitcoin-qtfor the desktop interface orbin/bitcoindfor a headless node. Copying the binaries into a system path is optional.
On first launch, choose the data directory carefully. A full node needs substantial storage and continues to grow. Pruning reduces disk use but removes older block files. The 29.4.2 release notes warn that a node pruned past the relevant September upgrade point may need to resynchronize from scratch; accept that resync if the software requests it rather than relying on an incompatible old chainstate.
Let the node finish its initial synchronization before connecting Shrike. From a terminal, run:
bitcoin-cli getblockchaininfo
bitcoin-cli getdeploymentinfo
أكد ذلك initialblockdownload is false, the block height is current, and the node reports the expected BLAKE2b deployment information. Bitcoin Knots 29.4.2 also reports difficulty_blake2b for BLAKE2b blocks. A running application with a stale height is not ready for wallet use.
If Shrike and Knots run on the same computer, keep RPC on loopback only. Enable RPC with strong credentials or the supported local authentication method, bind it to 127.0.0.1, and do not expose port 8332 to the public internet. For a node on another machine, use a firewall-protected private network or VPN and allow only the Shrike host.
Step 3: Connect Shrike to the XBT Network
Open Shrike and go to الإعدادات ← الخادم. A balance cannot appear until the wallet has a working source for XBT chain data.
Option A: Connect Directly to Your Bitcoin Knots Node
اختار عقدة بيتكوين and enter the RPC details for your own upgraded node. Keep RPC private: bind it to localhost or a protected private network, use strong credentials, and never expose the RPC port directly to the public internet. Once connected, the server indicator should turn green.
Confirm the node is past the BLAKE2b activation height and is not stuck in initial block download. If it was pruned before the fork, it may need to redownload data. Our XBT DATUM node guide explains the evidence checks used for a synchronized Bitcoin Knots deployment.
Option B: Connect to a Compatible Electrum Server
اختار Private Electrum, then enter the host, port and SSL setting supplied by the operator. A standard public Bitcoin Electrum server or stock Fulcrum deployment may stop at the fork height, so “connection successful” is not enough; the service must explicitly support XBT’s BLAKE2b headers.
For miners who need a temporary starting point, XorPool publishes an XBT wallet endpoint at electrum.bitcoinxor.org، بور 50002, with SSL enabled. This is a third-party convenience service, not part of Shrike. It cannot move your coins, but it can observe the addresses you query. A self-hosted node or indexer is preferable for long-term privacy.
انقر اختبار اتصال, apply the setting, and wait for synchronization. Cross-check at least one recent address or block using Mempool.Guide, the explorer used for the XBT chain.
Step 4: Create a New Wallet Dedicated to Mining
استعمل File → New Wallet, give the wallet a clear name such as XBT-Mining-Payouts, and create a new software keystore. The wallet-creation flow largely follows Sparrow: generate new recovery words, confirm them, and protect the local wallet file with a strong password.
Record the recovery words offline in the correct order. Make two backups stored in separate secure locations if the expected balance will be meaningful. Never photograph them. Never type them into a password manager, email, cloud drive or customer-support form.
The wallet-file password protects the copy on that computer; it does not replace the recovery words. Anyone with the seed can restore and spend the wallet without that local password. Conversely, losing both the seed and wallet file means no pool, wallet developer or equipment seller can recover the funds.
For a larger mining operation, treat an internet-connected Shrike software wallet as a hot wallet. Use it for monitored payouts and periodically move excess funds to a separately tested storage setup. Hardware signing is possible only when the device or firmware supports the new signature rules; do not assume stock BTC firmware can safely create replay-protected XBT spends.
Step 5: Generate and Verify an XBT Receiving Address
Open the wallet’s احصل على tab and create a fresh address. Add a label such as the pool name or miner group. Copy the address using the application’s copy button, then compare the first and last characters after pasting it into a plain-text field.
XBT addresses can look like ordinary Bitcoin addresses. That does not make the networks interchangeable. Confirm the pool explicitly supports XBT/BTCB2/Bitcoin BLAKE2b and that its payout field expects an on-chain address. Never substitute an exchange BTC deposit address just because the format looks familiar.
You may reuse one address for easier accounting, but generating a separate labeled address for each pool improves reconciliation and prevents one operator from seeing payments received from another. Whichever policy you choose, save the labels and keep a documented mapping for the farm.
Step 6: Add the Address to Your Pool or Miner
The exact field depends on the pool’s payout model:
- Account-based pool: add the Shrike address in the pool dashboard, complete any security confirmation, and configure the ASIC worker with the pool username or worker name.
- Address-as-username pool: place the Shrike address in the worker or username field, often followed by an optional worker suffix.
- Direct-coinbase or DATUM model: verify whether the payout address belongs in the gateway, template provider or local configuration rather than the ASIC’s ordinary Stratum field.
Follow the pool’s current connection page rather than copying a configuration from another XBT operator. Pool hosts, ports, payout thresholds and username formats can change. Our XBT mining pool comparison explains the major operators and why distributing hashrate matters.
Compatible BLAKE2b hardware commonly considered for XBT includes the ايبيلينك BM-S3+, بي إم-S3, جولدشيل SC5 برو, SC5 Pro II و إس سي لايت. Firmware, protocol and pool compatibility still need to be checked for the exact unit; sharing a BLAKE2b hash function does not guarantee every connection method will work.
Step 7: Test One Miner and Verify the First Payout
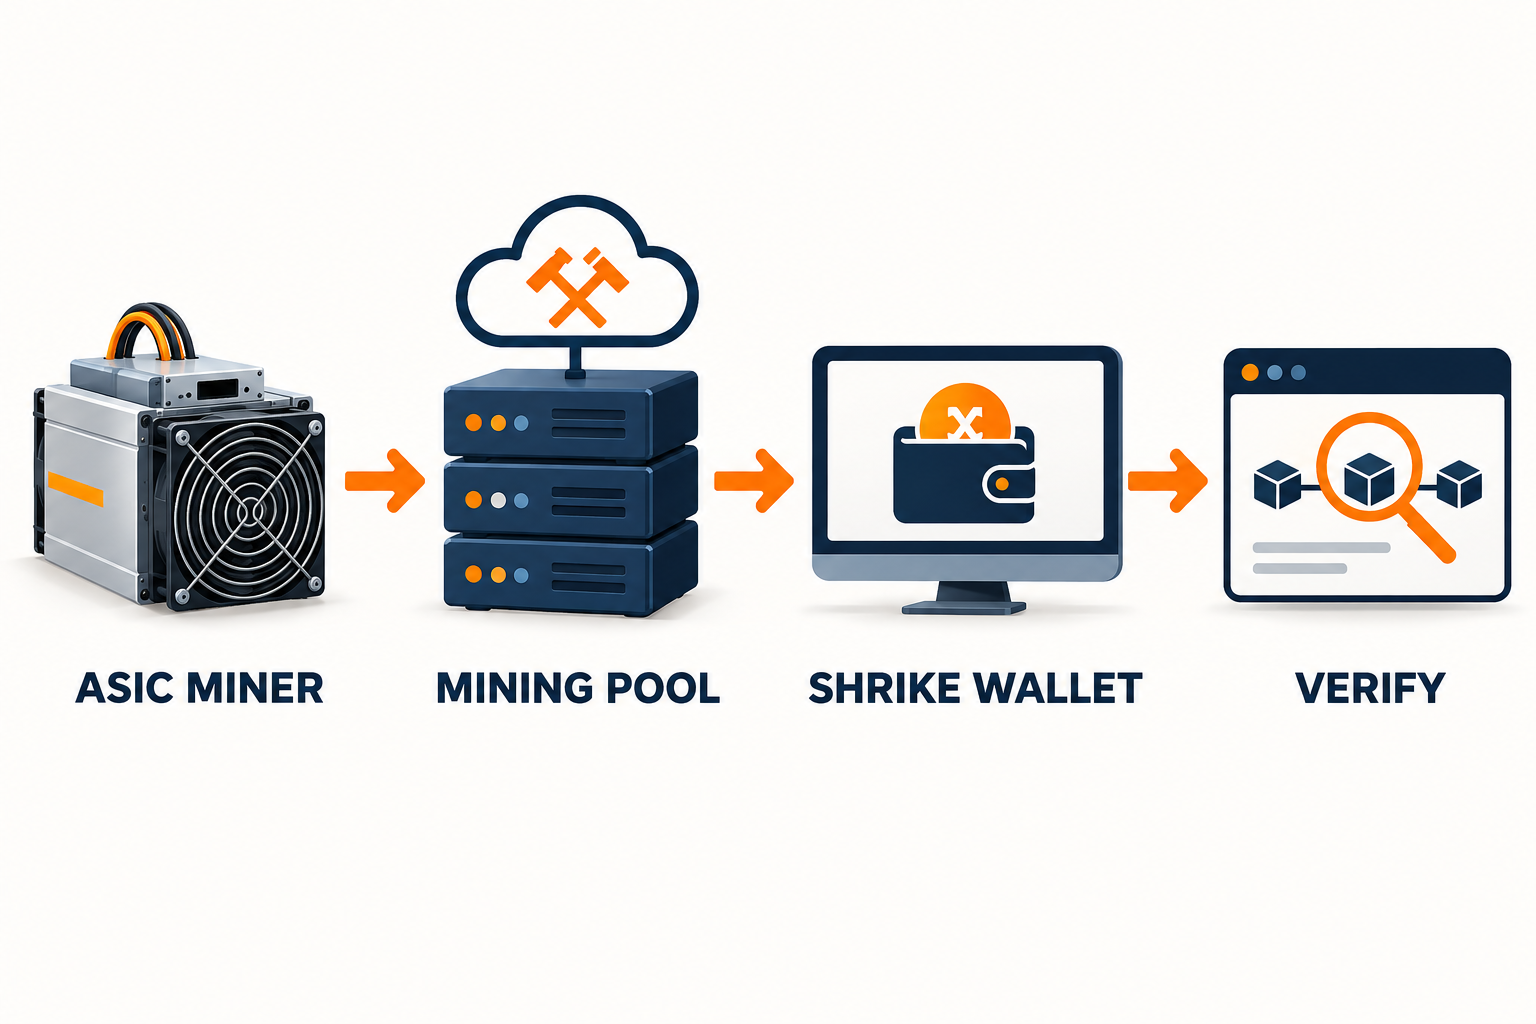
Start with one machine. Confirm all four stages instead of stopping when the miner dashboard says “online”:
- The ASIC reports a stable pool connection without repeated reconnects.
- The pool dashboard shows accepted shares and a plausible hashrate.
- The pool records the exact payout address you created in Shrike.
- A payout transaction appears in Shrike and on an independent XBT explorer.
Fresh mining rewards can appear as غير ناضج. XBT introduced an extended coinbase maturity rule at block 973,440 that has been described as roughly 45 days. Pool payment timing varies: a direct coinbase payout may reach your wallet immediately but remain unspendable, while another pool may credit an internal balance and pay later. Check the current chain rule and the pool’s payout method rather than treating a displayed balance as liquid cash.
After the test payout appears, compare the transaction ID, address and amount between Shrike, the pool record and Mempool.Guide. Do not send a large test transaction simply to prove the wallet works. Receiving does not require exposing the seed or private key to the pool.
How to Spend XBT Safely Later
Receiving is the easy part. Before the first outgoing transaction, read Shrike’s replay-protection guide and inspect the send screen. It should report that the transaction is replay protected.
A Shrike software keystore holding its own key can use the opt-in signature. A hardware or watch-only keystore may require you to mark compatible signing support manually, and the actual signer must use firmware that understands SIGHASH_UNIFIED. Do not check the setting merely to remove a warning.
If a seed controlled BTC before the split, the situation is more sensitive because the same pre-fork outputs may exist on both histories. This mining-wallet guide deliberately avoids that workflow. Move valuable BTC طازج BTC-only keys and follow a reviewed coin-separation procedure before importing shared historical keys into any XBT application.
Common Shrike and XBT Mining Problems
| عرض | سبب محتمل | ماذا يجب التحقق منه |
|---|---|---|
| Wallet shows no balance | No server, stale server or wrong chain | Server indicator, node height and the same address on Mempool.Guide |
| Pool accepts no shares | Wrong host, port, protocol, worker format or firmware | Pool’s current connection guide and ASIC logs |
| Pool balance grows but wallet is empty | Threshold not reached, custodial balance or wrong payout address | Payout status, address history and minimum payout |
| Payment says immature | Coinbase maturity period | Block height and the pool’s payment model; do not confuse receipt with spendability |
| Send screen is not replay protected | Signer or keystore cannot use the opt-in hash type | Stop before signing; review the keystore and firmware instructions |
Shrike Wallet Setup Checklist
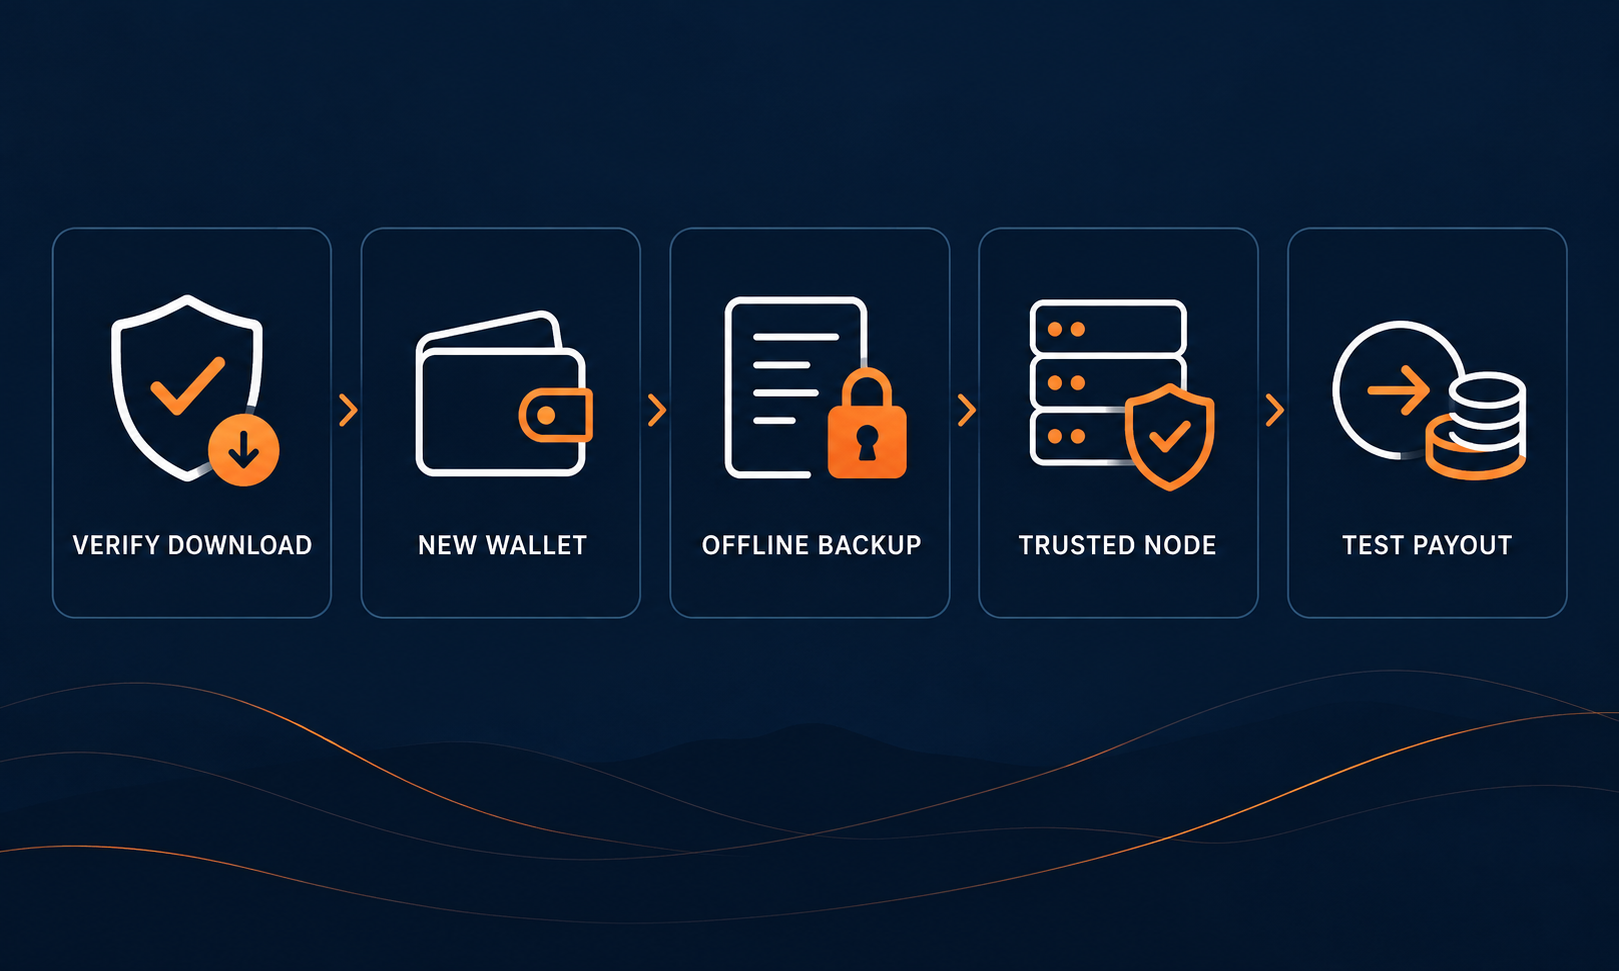
- Download only through the official Shrike site and linked GitHub release.
- Verify the signed checksum and installer hash before launch.
- Connect to an upgraded XBT-aware Knots node or compatible Electrum service.
- Create a new wallet dedicated to XBT mining payouts.
- Write the recovery words offline and store them separately from the computer.
- Label and verify the receive address before adding it to a pool.
- Test one miner, accepted shares and one payout before scaling up.
- Confirm maturity and spendability separately.
- Check replay protection before the first outgoing transaction.
الأسئلة الشائعة
Can I use a normal BTC wallet address for XBT mining?
Do not assume so. XBT addresses may look like BTC addresses, but the wallet must follow the correct BLAKE2b chain and later create valid XBT transactions. Use an address generated by a verified XBT-compatible wallet and confirm the pool’s network.
Does Shrike hold my XBT?
No. XBT remains on the blockchain. Shrike manages or coordinates the keys and displays chain data from the server you choose. Anyone with your recovery words can control the wallet.
Can the mining pool recover my wallet?
No. A non-custodial wallet has no password-reset desk. The pool can correct its own payout settings, but it cannot reconstruct a lost seed or reverse a confirmed transaction.
Why does Shrike show an immature payment?
The payment may be a coinbase reward subject to the network’s extended maturity period. It can be visible in the wallet before it becomes spendable. Confirm the transaction type, block height and pool payout method.
Can I point Shrike at any Electrum server?
No. The server must follow the XBT BLAKE2b chain and understand its post-activation headers. An ordinary BTC server may stop at the fork height or report the wrong history.
Should I import my existing Bitcoin seed?
Not for a new mining payout wallet. Generate a separate seed. Importing historical keys can expose BTC and XBT simultaneously and creates replay and coin-separation questions that require a separate, carefully reviewed process.
الحد الأدنى
The safest Shrike setup for an XBT miner is intentionally boring: verify the software, connect it to the correct chain, create a separate wallet, protect the recovery words, label one receiving address and test one payout before scaling.
Do not judge the setup only by a green miner light or a balance shown in one application. Verify the complete route from accepted shares to the pool ledger, the Shrike wallet and the XBT explorer. Then confirm whether the received output is mature and whether the first outgoing transaction is replay protected.
If you are still deciding whether to point BLAKE2b hardware at XBT or Siacoin, read our XBT vs Siacoin guide. For help matching a compatible miner to power and pool requirements, اتصل بـ BT-Miners قبل الطلب.
One-Prompt Setup with Codex or Claude Code
If you use a local coding agent with terminal access, the following single master prompt can handle the technical installation and verification. It deliberately stops when wallet recovery words would appear: no AI agent should see, copy, store or transmit your seed phrase.
Act as my local XBT wallet deployment agent and complete the Bitcoin Knots plus Shrike installation on this computer from start to finish: first inspect the operating system, CPU architecture, free disk space, existing Bitcoin/Knots/Shrike installations, running processes and data directories without changing anything; explain any conflict you find and ask before overwriting, migrating, deleting, reindexing, resynchronizing, using administrator privileges or changing firewall settings; install the newest stable Bitcoin Knots release that is compatible with XBT and is not older than v29.4.1.knots20260508, using only bitcoinknots.org or the official bitcoinknots/bitcoin GitHub release, never an rc/debug build or a curl-pipe-shell installer; download SHA256SUMS and SHA256SUMS.asc from the same release, obtain the signing keys from the official Bitcoin Knots Guix signature repository, verify the OpenPGP signature and the exact package SHA256 before executing anything, and stop with a clear warning if the signature, signer identity or checksum cannot be verified; install the correct Windows, macOS or Linux package for this machine, preserve any existing wallet and node data, ask me to choose the data directory and pruning policy if no safe choice is already known, then start the node and wait for synchronization while reporting useful progress without inventing an ETA; verify with bitcoin-cli getblockchaininfo and getdeploymentinfo that initialblockdownload is false, the height is current, the expected BLAKE2b deployment is active and the release exposes BLAKE2b chain information such as difficulty_blake2b; configure RPC only after asking me, bind it to 127.0.0.1 when Shrike is on this computer, use strong local authentication, never print credentials into chat or logs, never expose port 8332 to the public internet, and use a firewall-protected private network or VPN with a narrow allowlist if the node is remote; download the latest stable Shrike build only from shrikewallet.com or the official privkeyio/shrike GitHub release, verify SHA256SUMS.asc and the exact installer checksum against the project’s published signing key, stop on any verification failure, install Shrike without replacing Sparrow or sharing its state, and configure Settings → Server → Bitcoin Knots to connect to the verified node, using GUI automation only if available and otherwise giving me the exact clicks; confirm the Shrike server indicator connects and independently compare the node height with mempool.guide; do not create, import, display, photograph, copy, read, store or transmit any seed phrase, private key, wallet file, hardware-wallet secret or exchange credential—pause and hand control to me before the wallet recovery words appear, then continue only after I confirm that I completed the wallet creation and offline backup myself; do not import an existing BTC seed; after I provide only the new public XBT receiving address, help me label and verify that public address but never request a secret; finish with a concise deployment report listing source URLs, installed versions, package filenames, checksum and signature results, installation and data paths, pruning setting, node height, initialblockdownload state, BLAKE2b/deployment checks, RPC bind scope, Shrike connection status, all actions requiring my confirmation and any remaining manual step, and do not claim success unless every completed checkpoint has fresh command or UI evidence.
This prompt cannot remove the need for judgment. Read every privilege, resync and firewall request before approving it. When the agent pauses for wallet creation, keep the recovery words out of the terminal, chat, clipboard history, screenshots and cloud storage.
Disclosure and risk notice: BT-Miners sells some of the mining hardware linked in this article. Shrike is independent, unofficial and unaudited software with no warranty, and BT-Miners is not affiliated with its developers. This guide is educational, not financial or custody advice. Network rules, pool endpoints, node releases and wallet releases can change; details were checked October 14, 2026.